

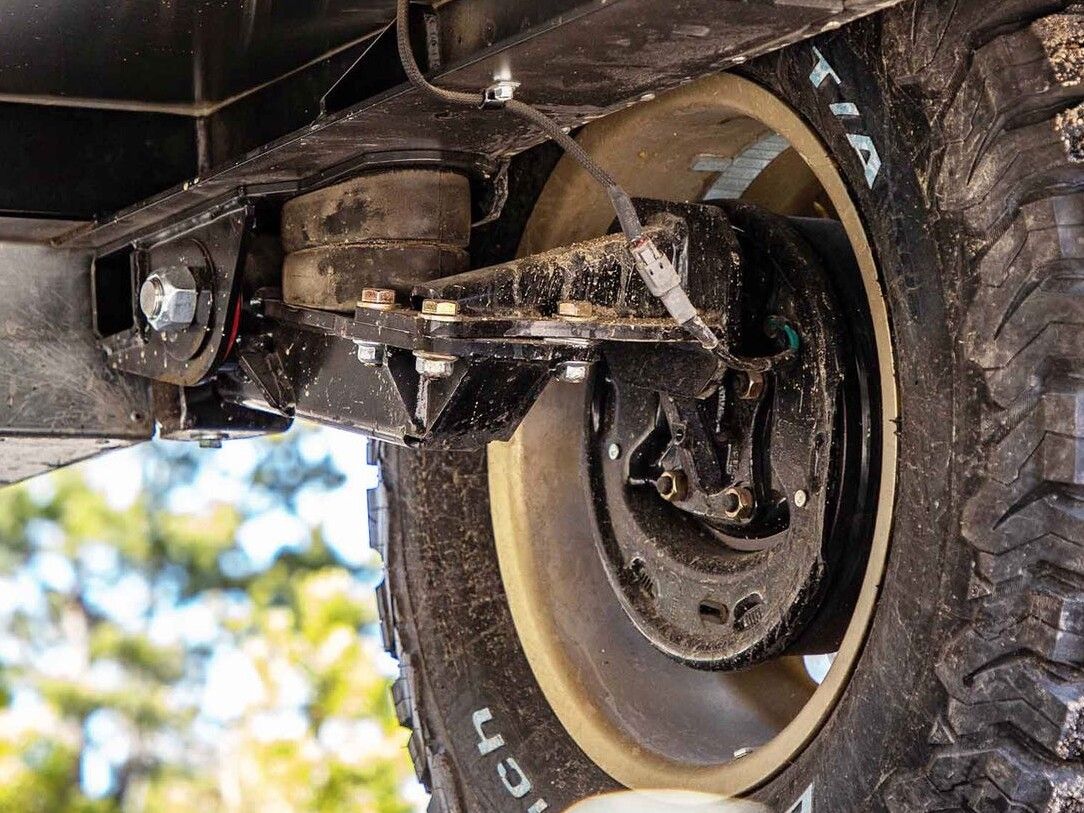


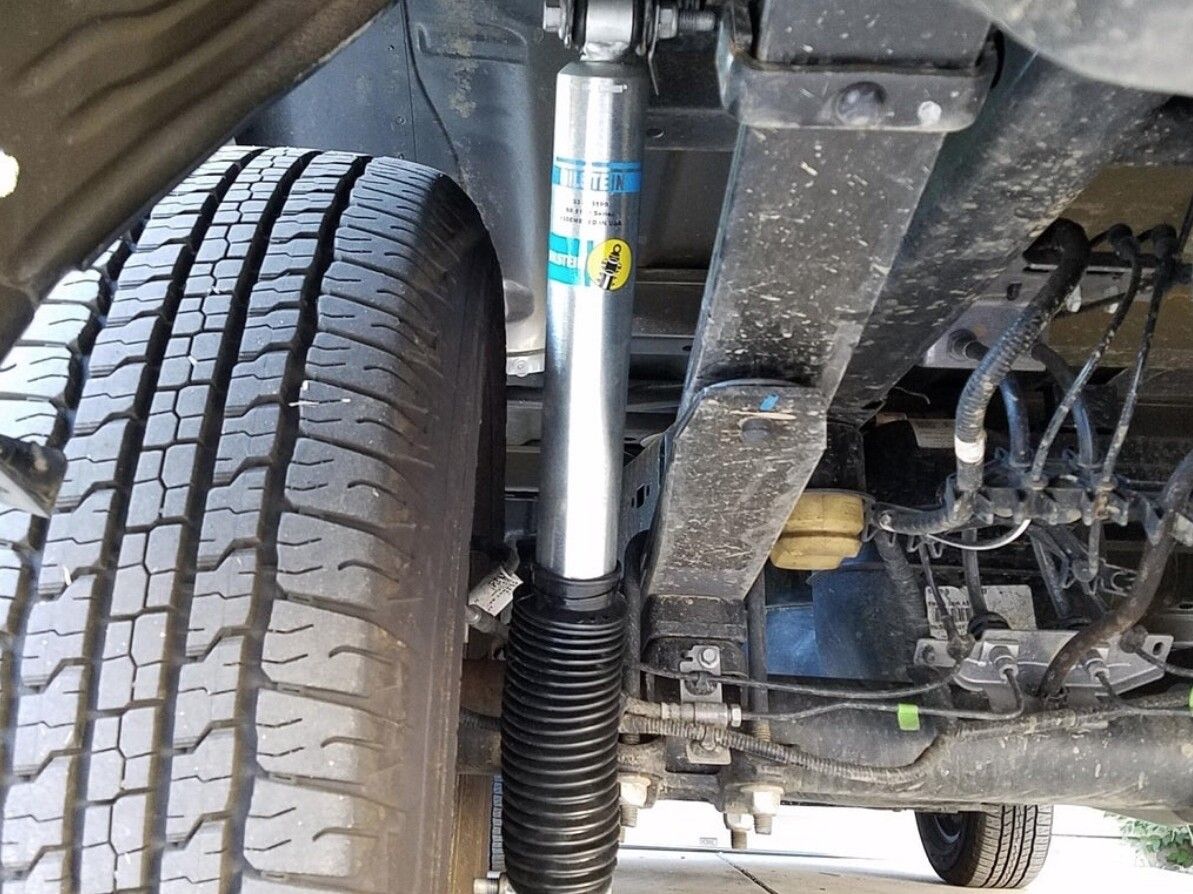
Perhaps you’ve recently picked up a new 1-tonne ute or a 4×4 SUV and, unladen, it rides like a dream. But as soon as you start kitting it out for the real world, you notice that dreaded “rear-end squat”.
Whether you are navigating the dunes in the Middle East, overlanding across the Outback, or hauling equipment through European city centers, a sagging suspension is more than just an eyesore—it affects your steering, braking, and safety.
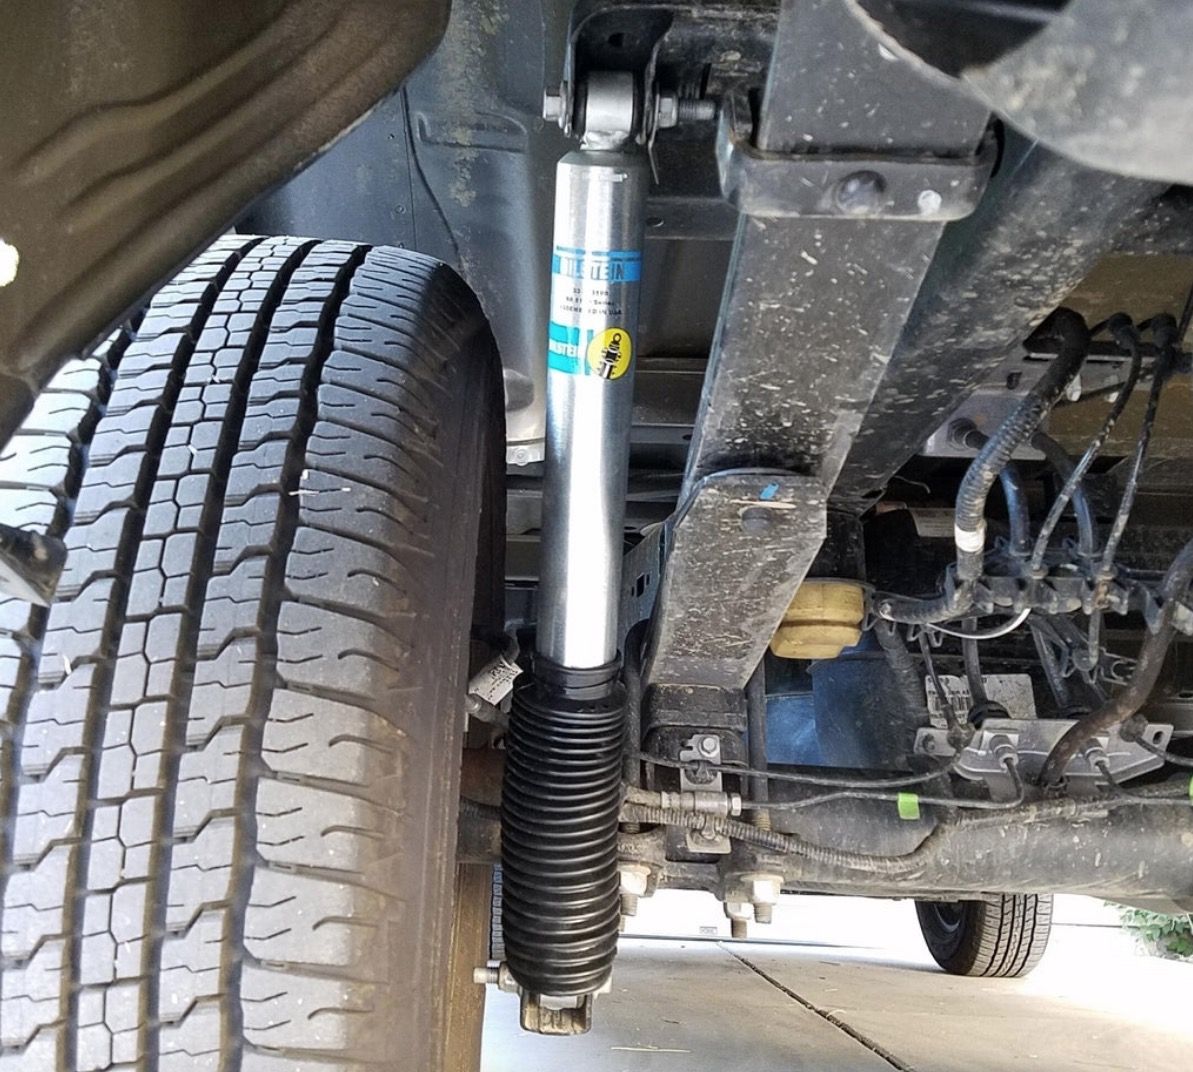
1. Upgrade the Shocks
Upgrading your shock absorbers is one of the fastest ways to “beef up” a suspension. While it helps control a saggy rear end and keeps your tires planted, be careful. Moving too far away from OEM (Original Equipment) can make the ride uncomfortably stiff for daily driving.
Pro Tip: If you aren’t installing a lift kit, avoid “long-travel” shocks meant for lifts; you’ll end up with less travel and likely ruin the valves.
Why is your 4×4 squatting?
There are plenty of reasons why your factory suspension might be struggling:
- Overlanding Gear: You’ve added a heavy canopy, rooftop tent, or expedition rack.
- Towing: You’re pulling a heavy off-road caravan, horsebox, or trailer.
- Work Loads: The tray is permanently filled with tools, a salt spreader, or commercial equipment.
- Front-End Weight: You’ve fitted a steel bullbar, winch, or secondary battery system.
The goal is to keep your vehicle level and stable while actually improving the ride quality. Here is how to do it properly.
2. Add Helper Springs (The Smart Way)
If you do heavy hauling, you need to reinforce your springs.
- For Leaf Springs: You can add an extra leaf or use bolt-on “spring helpers” to add tension.
- For Coil Springs: Inexpensive polyurethane braces can be slipped into the coils to reduce play.
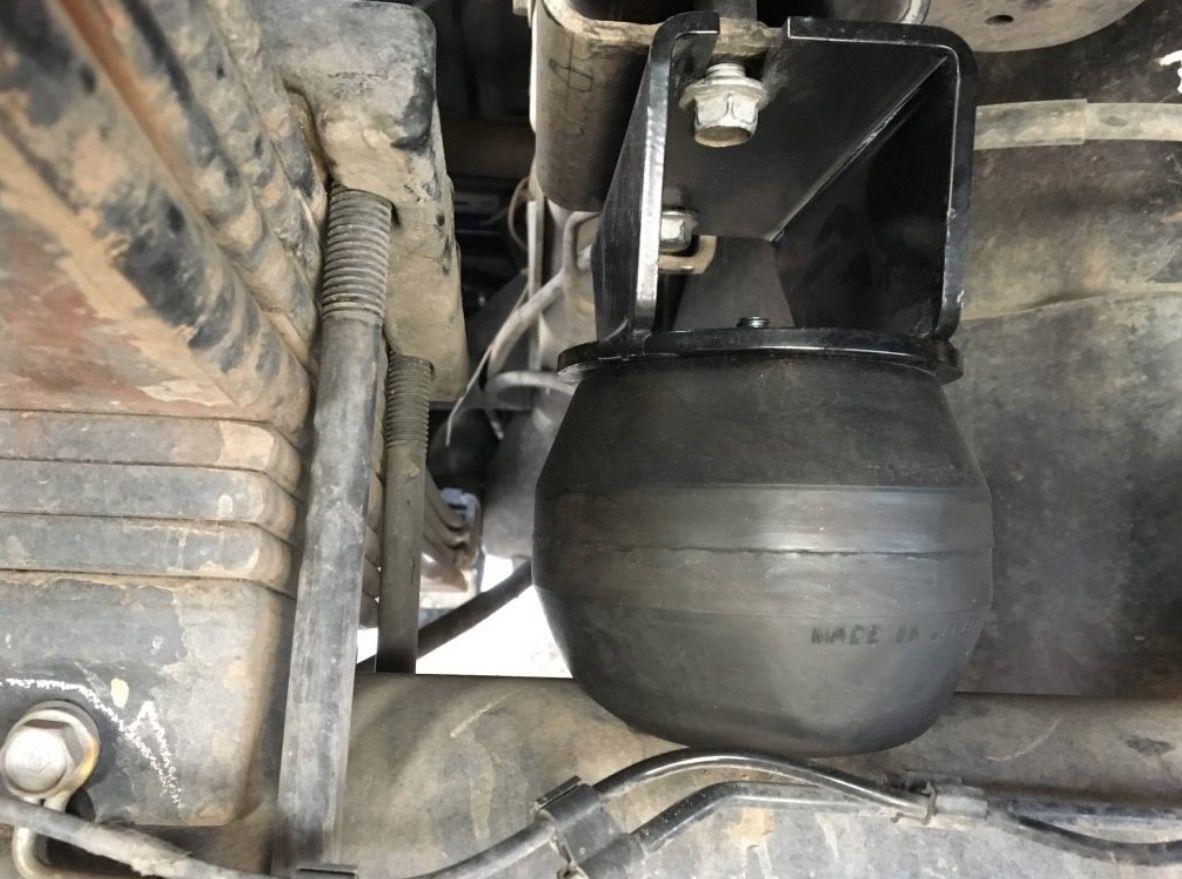
The Best Alternative: Consider hollow rubber springs. These replace your factory bump stops and sit between the frame and the axle. They only engage when you’re loaded, meaning you keep your “Cadillac” ride when the truck is empty.
3. Adjust Your Torsion Bars
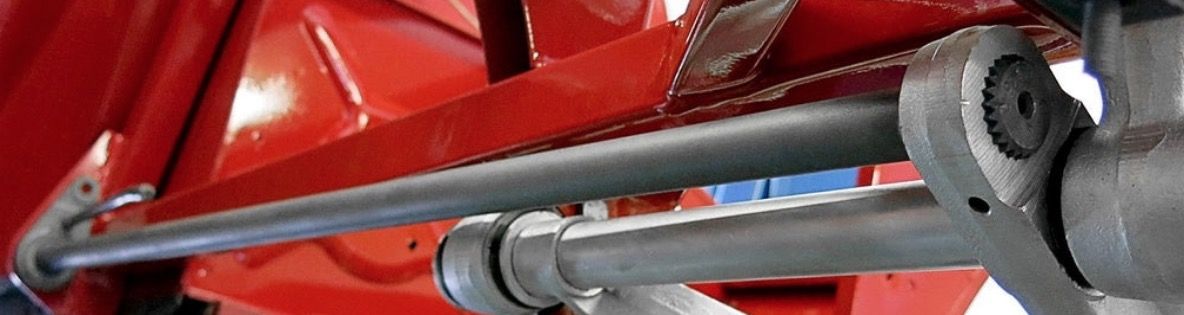
Many utes have adjustable torsion bars in the front. You can “crank” these to raise the front height to match a loaded rear, keeping the vehicle level. Just remember: this increases clearance, but it doesn’t actually increase your suspension’s travel range. Always get a re-alignment afterward.
4. Consider a Modest Lift Kit
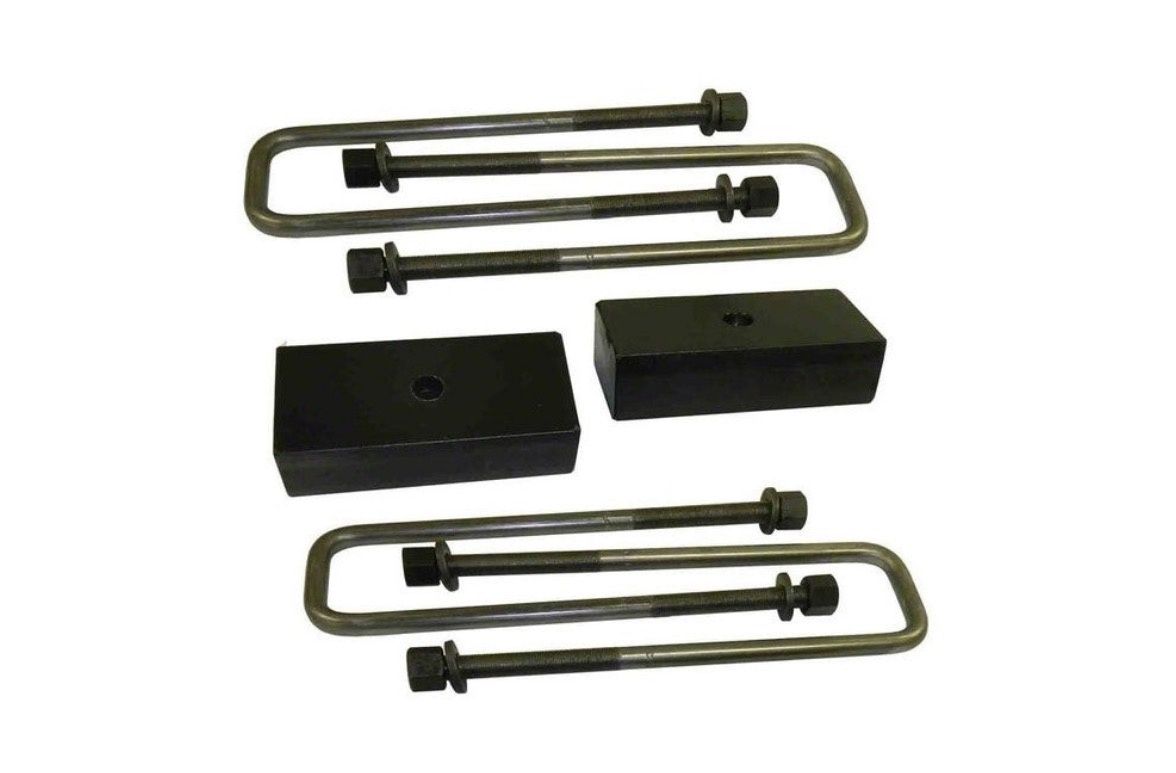
Lift kits can provide anywhere from 25mm to over 300mm of clearance. Don’t get carried away—a 1.5″ or 2″ (50mm) lift usually makes a dramatic difference without sacrificing too much stability or making it impossible to reach your gear.
5. Get a Suspension “Tune-Up”
Before buying new parts, have a specialist inspect your current setup. Factory tuning is usually for “average” demands. If you are constantly on rugged terrain or hauling heavy loads, you need a more dynamic response.
Your checklist should include:
- Checking bushings, bearings, and joints for wear.
- Inspecting shock absorbers for leaks.
- Verifying wheel alignment and tire pressures.
The Ride Solutions Verdict
If your suspension is failing to carry the weight or absorb the inconsistencies of the trail, it’s time for an upgrade. For a maintenance-free solution that provides load-leveling and stability, Timbren SES products are the gold standard.